1.
Installation Instructions
This is a quick guide for installing VoiceGear Connect 3.0 software on existing computer
systems from a bootable VoiceGear CD.
- Estimated time to complete this installation procedure
is 30 minutes.
- The installation procedure is fully automated, and
requires only 10 minutes of your time.
- No expert skills are required.
1.1 Minimum System Requirements
Before
proceeding with the installation please make sure your computer and Internet
connection conform to minimum requirements shown below.
|
CPU:
Pentium 4 2.4Ghz or equivalent
Memory:
512MB DDR RAM
Hard
Disk: 20GB
Network
Adapter: 100Mbit
Internet
Connection: DSL or Cable Internet (16Kbps/Skype call)
|
2.
Installation Procedure
VoiceGear Connect 3.0 installation
procedure is extremely easy to follow. For your convenience, the entire
installation process is outlined below in 12 quick steps, which should take
approximately 30 minutes to complete.
2.1 Step One
Insert VoiceGear Connect 3.0 CD
into your CD-ROM drive, restart the computer and make sure your computer is set
to auto-boot from CD-ROM. For analog or ISDN PBX integration, please make sure
the computer has appropriate Sangoma hardware installed prior to inserting the
CD.
- For analog connectivity it is
recommended to use Sangoma A200 PCI cards.
- For PRI connectivity it is
recommended to use Sangoma A10x ISDN cards.
2.2 Step Two
Select "Install VoiceGear Connect"
from the initial "VoiceGear Installer" screen and press the "Enter" key twice
to start the guided installation procedure.
2.3 Step Three
The installer will prompt you to
automatically detect the keyboard layout of your system. Select "No" and press
"Enter" to view the list of available keyboard origins. Select the keyboard
origin that is the most appropriate for your region and press "Enter" to
display the list of matching keyboard layouts. Select the keyboard layout that
is the most appropriate for your region and press "Enter" to proceed with the
installation. For North American installations, you can safely accept default
values of "USA" for both keyboard origin and keyboard layout settings.
2.4 Step Four
The installer will prompt you to
partition your hard drive in order to install VoiceGear Connect 3.0. Select the
desired hard disk and press "Enter". Installer will automatically determine
partition sizes and ask for your confirmation. Select "Yes" and press "Enter"
to proceed with the installation.
- WARNING! - Proceeding with
this step will completely erase existing contents of your hard drive.
2.5 Step Five
The installer will automatically
reboot your system and eject the CD once it is done copying necessary data.
Please make sure to remove the installation CD from the CD-ROM drive in order
for installation to proceed properly. At this point, installation CD will no
longer be necessary.
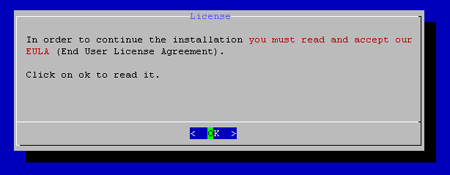
2.6 Step Six
The installer will ask you to
read and agree to the VoiceGear EULA. To show the agreement, select "OK" and
press "Enter".
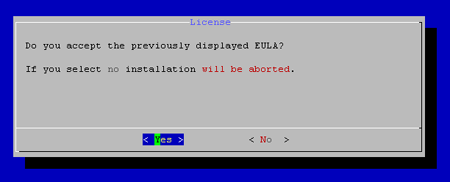
To scroll down the license
agreement, press "Space" key which will show the next page of the agreement.
Once done going over the EULA, select "Yes" and press "Enter" to agree with its
terms and conditions. Selecting "No" and pressing "Enter" will abort the
installation.
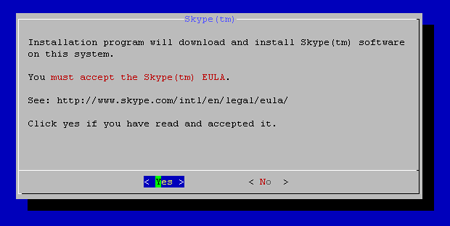
2.7 Step Seven
The installer will prompt you to
read and accept the Skype EULA available online. Please navigate to the
provided link, read the EULA, select "Yes" and press "Enter" to confirm that
you agree with its terms and conditions. Selecting "No" and pressing "Enter"
will abort the installation.
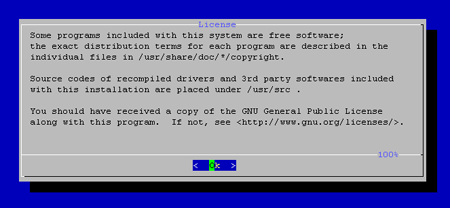
2.8 Step Eight
On the next installer screen,
please select "OK" and press "Enter" to continue.
2.9 Step Nine
Depending if you are installing
VoiceGear Connect 3.0 on a physical or virtual machine, you will need to select
a different "System Mode" for the installation to continue.
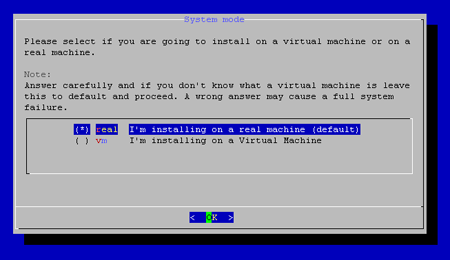
Using keyboard arrow keys and spacebar,
select "real" option if installing on a physical machine or "vm" option if
installing on a virtual machine such as VMWare. To proceed with the
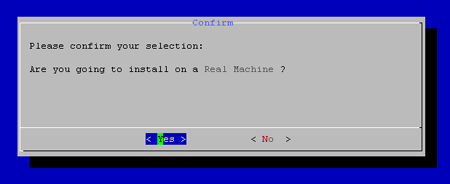
installation, select "OK" and press "Enter". To confirm your selection,
select "Yes" and press "Enter" on the next installer screen.
- ATTENTION! - It is strongly
recommended to install VoiceGear Connect on a physical machine for use in
production environments.
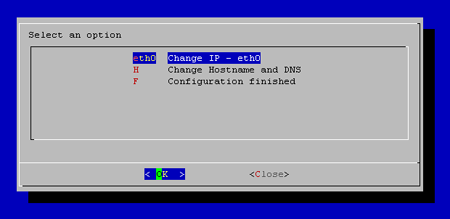
2.10 Step Ten
After processing additional
system packages, the installer will auto-detect your network hardware and
prompt you to configure network settings. To configure network settings, use
keyboard arrow keys to select "eth0" from the list and press "Enter".
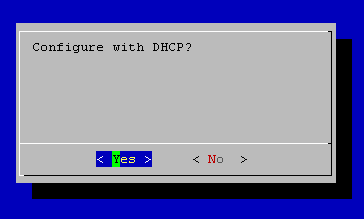
If your network supports DHCP and
is configured to lease IP addresses infinitely, select "Yes" and press "Enter"
on the next screen. Alternatively, it is recommended to configure static IP
information by selecting "No" and pressing "Enter" on the next screen shown
below.
The system will prompt you to
input static IP address, netmask, and gateway address in order to complete
static IP configuration. As a rule, this information can be requested from a
network admin.
Once finished with the static IP
configuration, select "Yes" and press "Enter" to confirm your selection. To
proceed with the installation, use keyboard arrow keys to select "Configuration
finished" option from the list, select "OK" and press "Enter". The installer
will automatically perform a network configuration test and will proceed with
the installation upon its success.
- ATTENTION! - Incorrect
network configuration or static IP assignment will be detected by the
installer and you will have an option to modify your configuration before
proceeding.
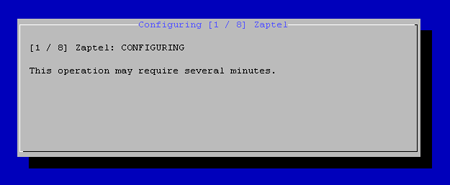
2.11 Step Eleven
Upon successful network
configuration, installer will start configuring third party components which
can take up to 15 minutes. The screen will be continuously updated with the
current progress.
2.12 Step Twelve
When finished with third-party
component configuration, the installer will prompt you to select the default
shell for the system console.
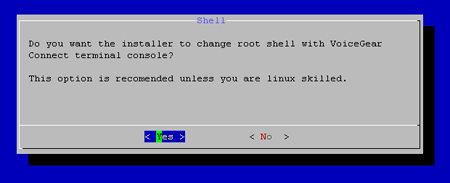
It is strongly recommended to
select "Yes" and press "Enter". At this point, your computer will reboot to
finalize the installation.
Get Your License Request Code
After the installation has been
completed and the system restarts, please open a Web browser on any computer
connected to the same network as the system where VoiceGear Connect has been
installed and navigate to the following address: http://0.0.0.0:8080
where "0.0.0.0" is the current IP of the VoiceGear Connect system assigned
either by DHCP or manually configured in the installation step ten.
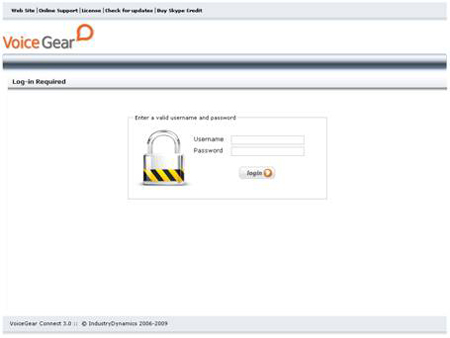
In order to login to the Web configuration
interface, please use "admin" both as your username and password.
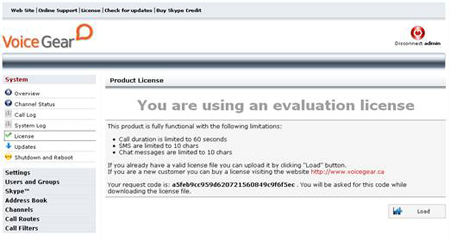
Your current VoiceGear Connect
installation is a fully functional product limited to 2 concurrent calls and 60
second maximum call duration. To remove these restrictions you need to apply a
valid license key, which can be requested from IndustryDynamics.
In order to obtain a valid
license key, please send your License Request Code to sales@industrydynamics.ca. You can
find this code by navigating to the "System->License" screen from the main
menu on the left.
For more information on configuring and using VoiceGear
Connect, please refer to the "VoiceGear Connect User Guide" available at http://industrydynamics.ca/downloads.php#manuals.
- If you require any technical
assistance while installing VoiceGear Connect software, please contact our
technical support team: support@industrydynamics.ca
- If you have any pre-sales
questions or would like to purchase a VoiceGear Connect license, please
contact our sales team: sales@industrydynamics.ca
or call +1 (866) 648-1811